A Body Visualizer is only as accurate as the numbers you feed it. Garbage in, garbage out - that is true for every Body Visualizer ever built. This guide walks through exactly how to take each measurement a modern Body Visualizer asks for, so your 3D silhouette and metrics reflect your real body, not a typo.
If you have not opened a Body Visualizer yet, the free body measurements preview tool has all six inputs covered below.
Editorial note: this guide emphasizes repeatable tape placement because most inaccurate previews we see come from inconsistent measuring, not from the 3D model itself.
What You Need
You only need three things to feed a Body Visualizer good data:
- A soft, non-stretchy tape measure (cloth tailor's tape - not a metal carpentry tape).
- A bathroom scale.
- A wall to stand against for height.
That is the entire equipment list. A Body Visualizer needs no camera, no scanner, no app.
Body Visualizer Measurement 1: Height
Height is the single most leveraged number in a Body Visualizer. Get it wrong and every Body Visualizer metric - BMI, WHtR, body fat estimate - drifts.
How to measure:
- Stand barefoot, heels against a wall.
- Look straight ahead (chin parallel to the floor).
- Place a flat object (book, ruler) flat on top of your head, touching the wall.
- Mark the wall, then measure from the floor to the mark.
Tips:
- Measure in the morning. People are 1 - cm taller in the morning than at night.
- Repeat once and use the average.
- If you are entering height in your Body Visualizer in feet/inches, double-check that the Body Visualizer's input fields are also in imperial - switching modes mid-entry is the #1 Body Visualizer data error.
Body Visualizer Measurement 2: Weight
Weight is the second pillar of any Body Visualizer.
How to measure:
- Use the same scale every time, on a hard flat surface.
- Weigh yourself first thing in the morning, after using the bathroom, before eating or drinking.
- Wear minimal or consistent clothing.
- Take three readings; if they differ, use the median.
Tips for a Body Visualizer:
- Daily weighing into a Body Visualizer is misleading; weekly is much better.
- Hydration alone can move scale weight by 1 - kg; do not let one Body Visualizer reading scare you.
- If you and your Body Visualizer ever disagree wildly, recheck units (kg vs lb is a 2.2x error).
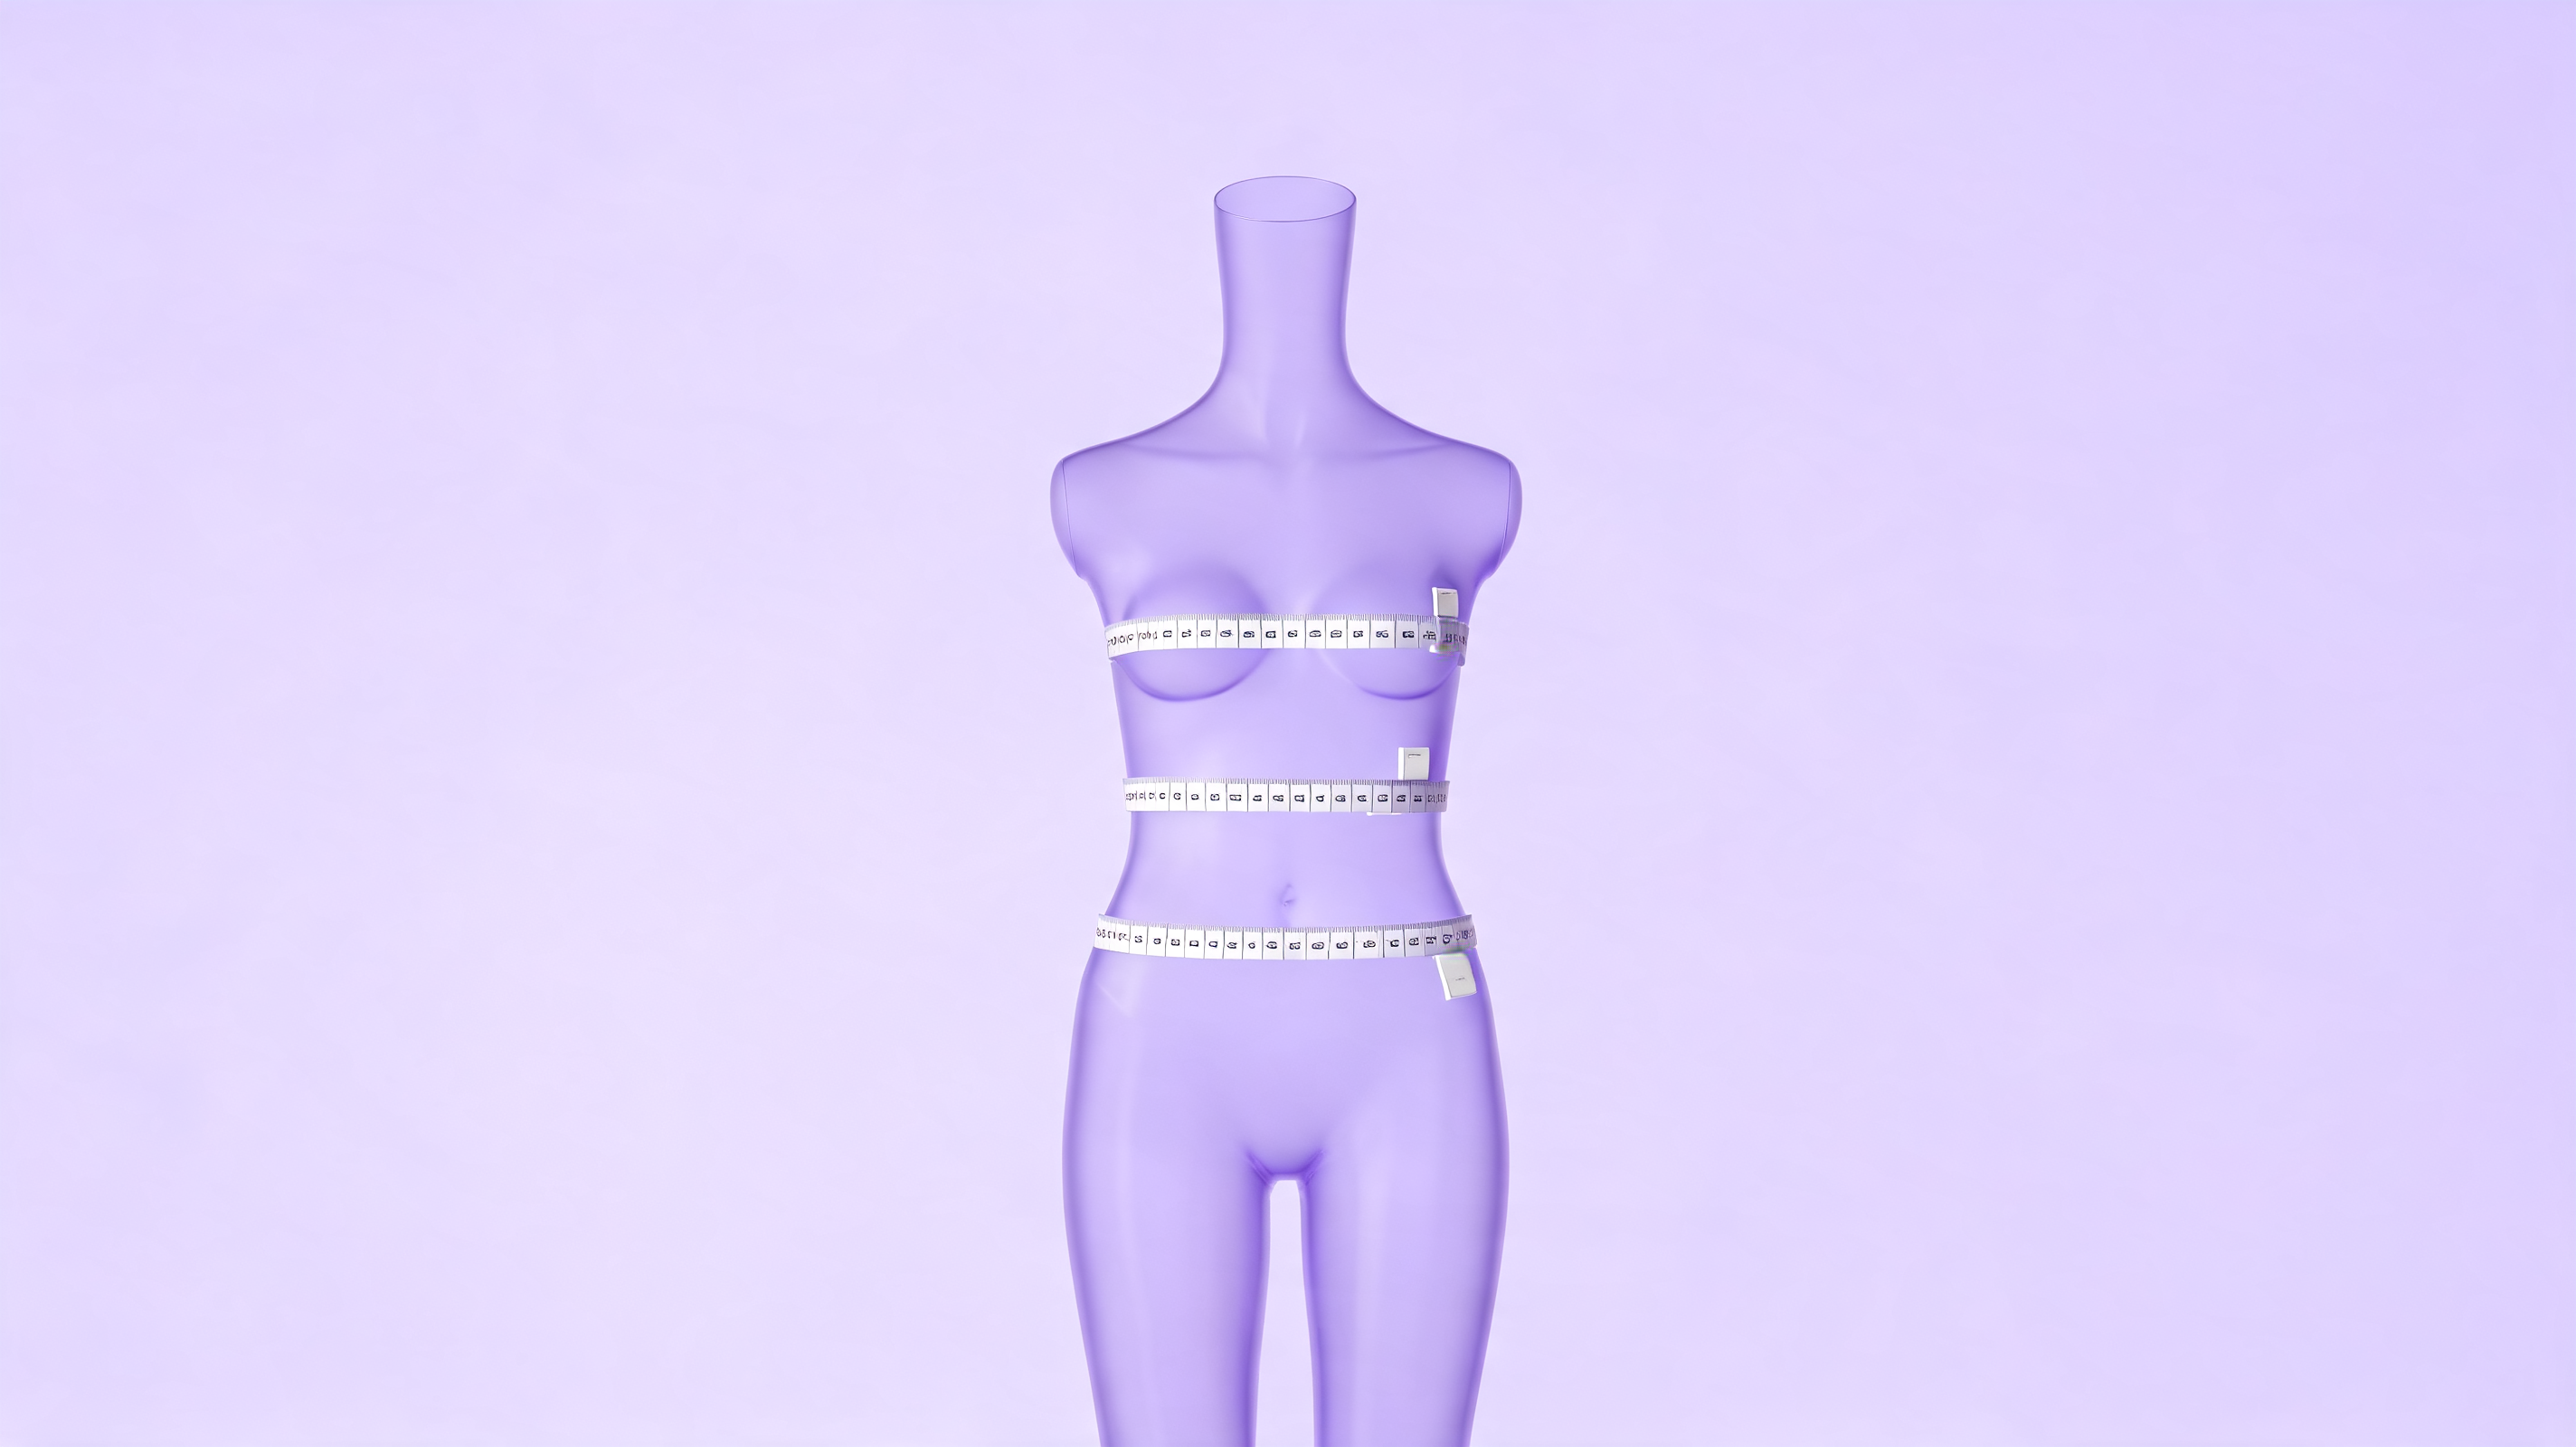
Body Visualizer Measurement 3: Chest / Bust
Chest (or bust, for the female mannequin) shapes the upper body in your Body Visualizer preview.
How to measure:
- Stand relaxed, arms slightly out.
- Wrap the tape around the fullest part of the chest, level with the nipples.
- Keep the tape parallel to the floor - not tilted up at the back.
- Breathe normally; do not inhale deeply for a "best" Body Visualizer reading.
Tips:
- Wear a non-padded bra (or no bra), depending on what you usually wear when reading Body Visualizer output.
- Two passes; use the average.
- If your Body Visualizer chest reading bounces around session to session, ask a friend to take it for you - self-measuring chest is awkward and error-prone.
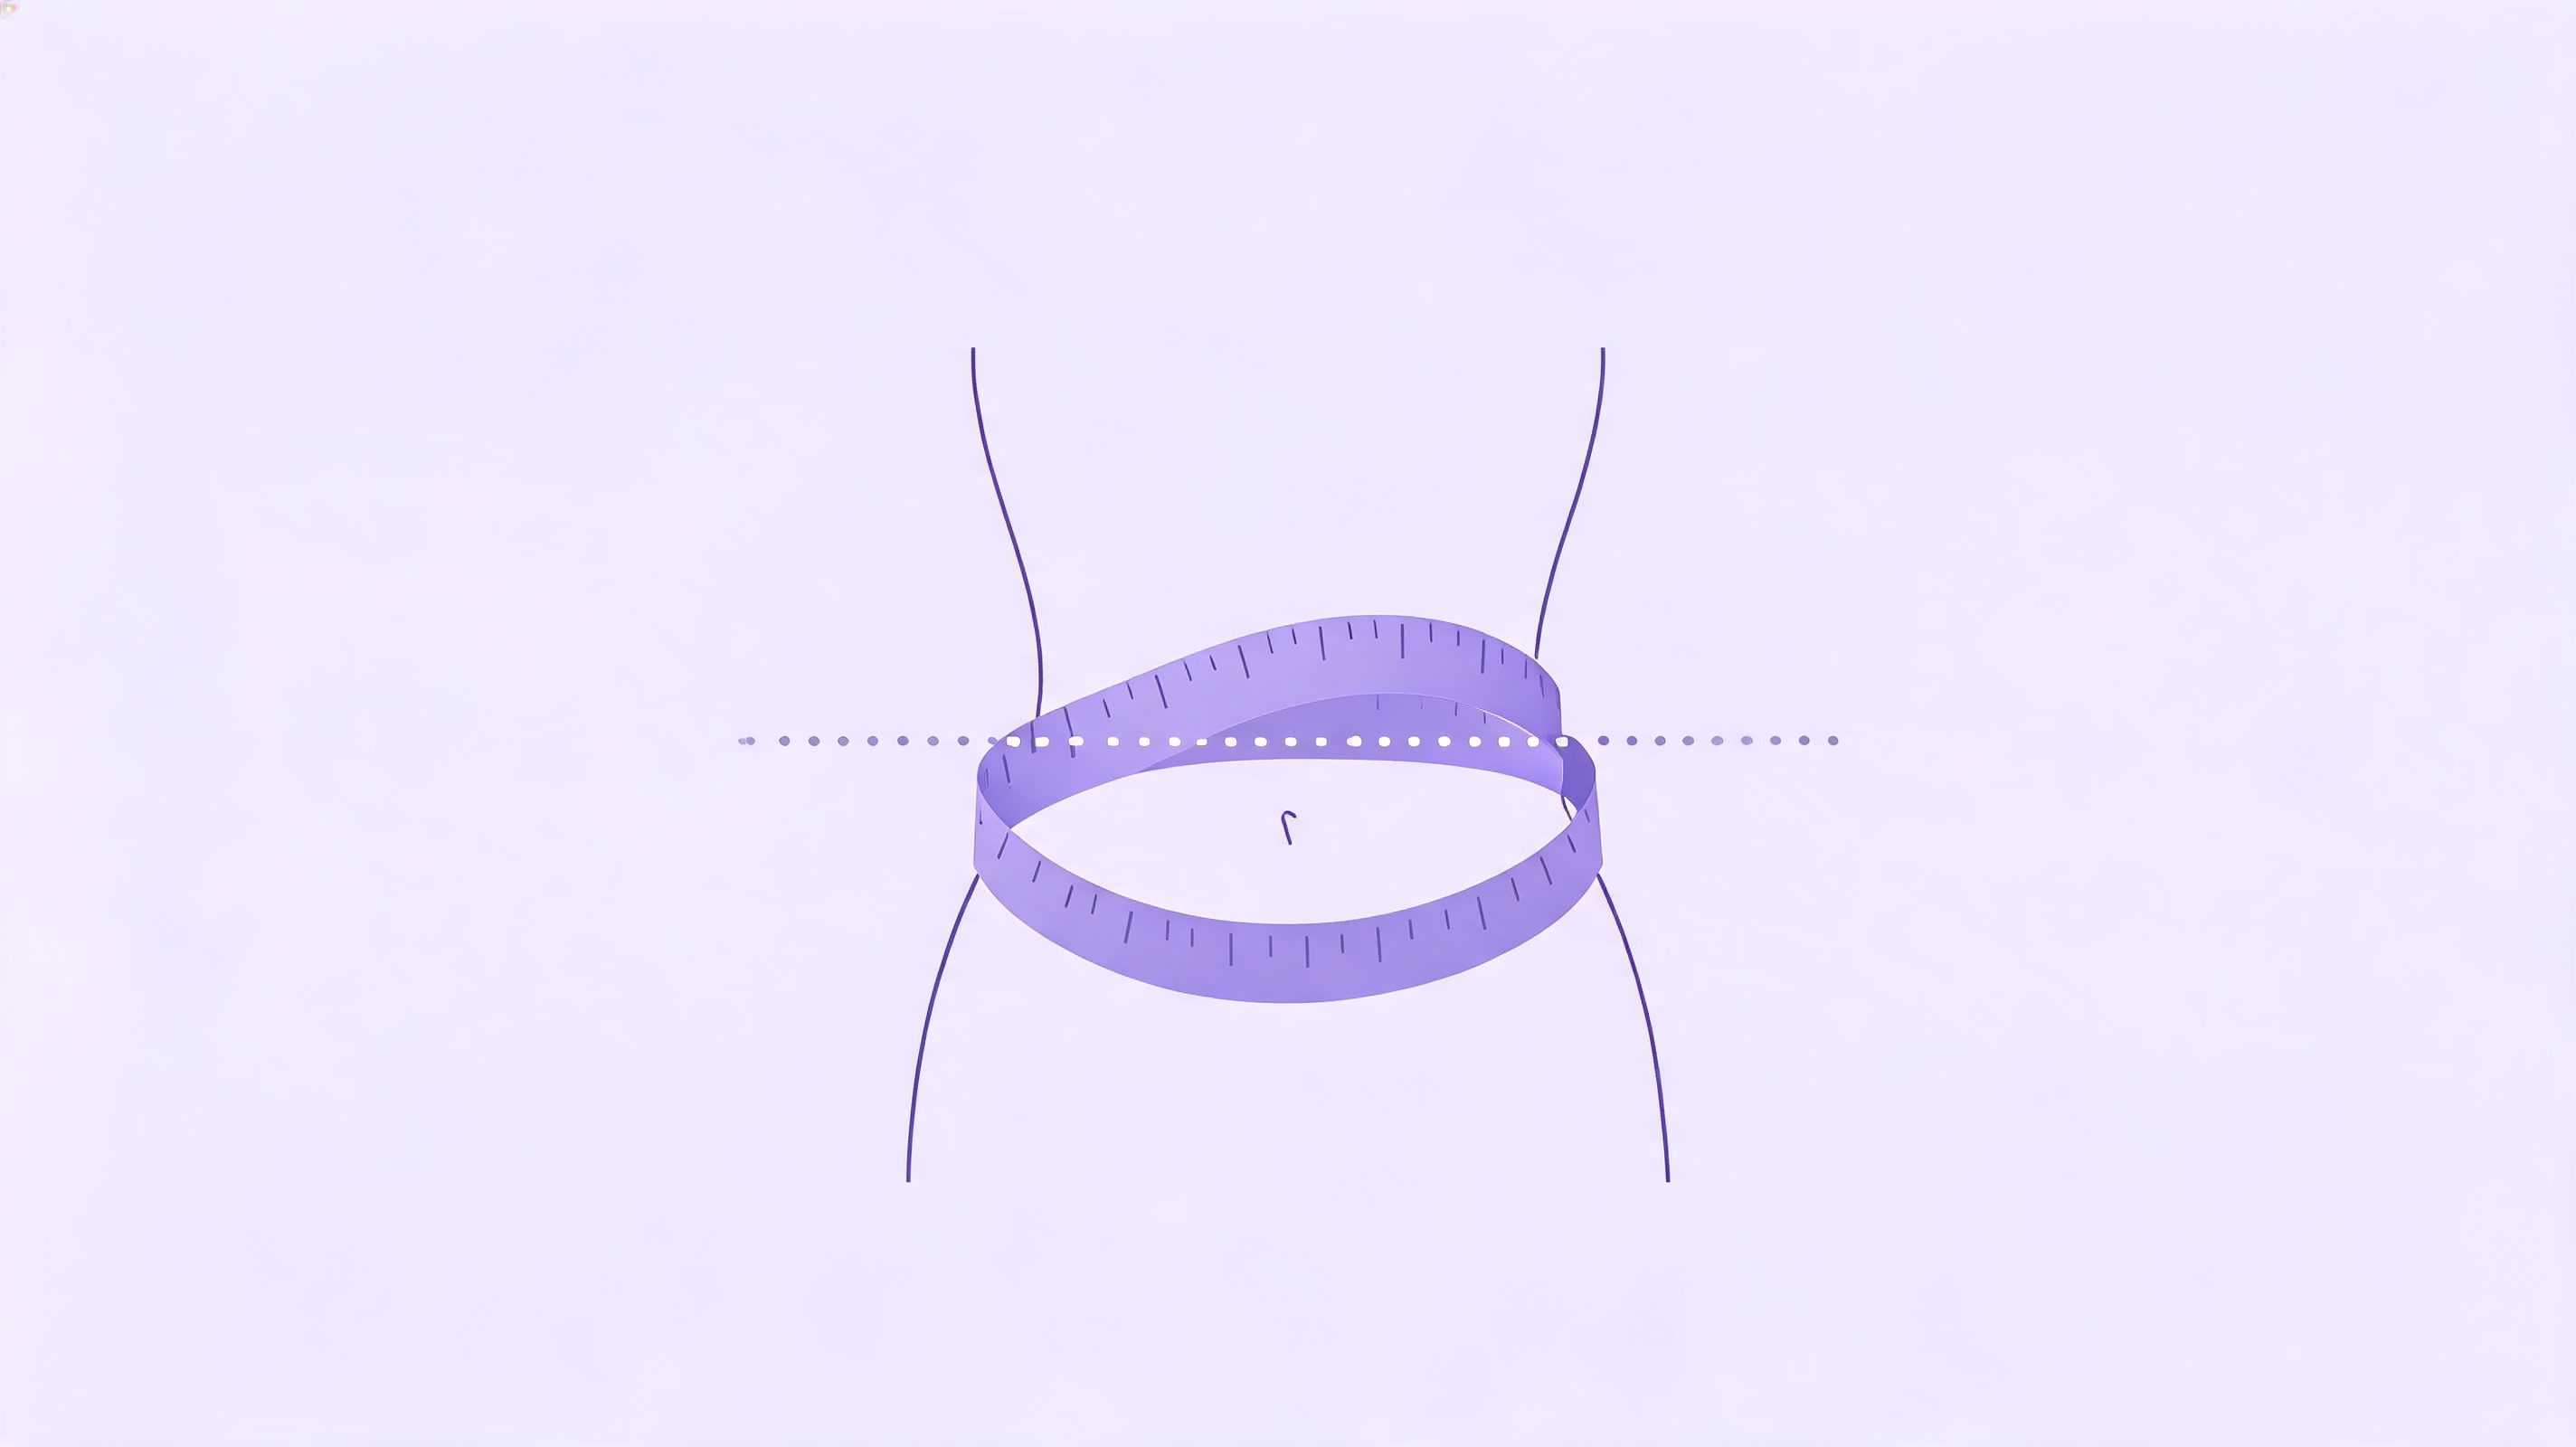
Body Visualizer Measurement 4: Waist
Waist is arguably the most important measurement in any Body Visualizer, because it drives the WHtR and WHR metrics that a Body Visualizer reports.
How to measure:
- Find the narrowest point of your torso. For most people, this is just above the navel, below the bottom of the ribs.
- Wrap the tape horizontally, snug but not compressing the skin.
- Stand relaxed, exhale gently, and read the tape on the exhale.
Tips:
- Do not suck in your stomach for a Body Visualizer reading. The Body Visualizer is for you, not a photoshoot.
- Measure on bare skin or over a thin layer; thick clothing inflates the Body Visualizer's reading.
- Measure twice and use the average.
Body Visualizer Measurement 5: Hips
Hips define the lower-body silhouette in the Body Visualizer preview and feed into the Waist-to-Hip Ratio metric the Body Visualizer displays.
How to measure:
- Stand with feet together.
- Find the widest point of your hips/seat - usually about 18 - 2 cm below the navel.
- Wrap the tape horizontally at that widest point.
- Keep the tape level all the way around.
Tips:
- The widest point may not be where your beltline sits. Trust the tape, not your belt.
- If the Body Visualizer outputs a Waist-to-Hip Ratio that looks off, your hip placement was probably too high or too low - repeat the measurement.
Body Visualizer Measurement 6: Inseam (Optional but Useful)
Inseam tells the Body Visualizer how leggy you are versus how torso-heavy. Without it, the Body Visualizer falls back to a population-average leg length, which can make tall-torso or long-leg people look "off" in the Body Visualizer preview.
How to measure:
- Stand straight, barefoot, feet shoulder-width apart.
- Measure from the inside top of the leg (perineum) straight down to the floor.
- Hold the tape against the inside of one leg.
Tips:
- If you have well-fitting pants, you can read the inseam from those - useful when entering into a Body Visualizer alone.
- Half a centimeter of imprecision is fine; the Body Visualizer is not sensitive at that level.
How Often to Re-Measure for the Body Visualizer
Different signals move at different speeds, so the Body Visualizer needs different re-measurement cadences:
- Weight: weekly (Body Visualizer reading included).
- Waist: every 2 weeks.
- Hips: monthly.
- Chest, inseam: monthly or less. These barely change unless something significant is happening.
Use the same time of day each session, so your Body Visualizer comparisons across sessions stay apples-to-apples.
Avoiding Common Body Visualizer Measurement Mistakes
The errors that wreck a Body Visualizer reading are almost always the same:
- Mixed units. Mixing cm and inches inside one Body Visualizer session. Lock to one unit system.
- Pulling the tape too tight. The tape should sit flat against the skin without compressing - a Body Visualizer reading taken with a "shrink-wrapped" tape is artificially low.
- Measuring over thick clothing. Inflates every Body Visualizer reading.
- Sucking in the stomach. Common with waist; instantly makes the Body Visualizer's WHR look better than it is.
- Measuring after a meal. Especially the waist. Wait at least an hour for a stable Body Visualizer reading.
- Wrong landmarks. Hip placement and waist placement are easy to get wrong; the Body Visualizer cannot tell.
A Quick Pre-Body Visualizer Checklist
Before each Body Visualizer session:
- Soft tape ready
- Same scale, same room
- Same time of day
- Minimal/consistent clothing
- Relaxed posture
- One unit system, top to bottom
Do that for two months and your Body Visualizer trend chart will be the most trustworthy view of your body shape you have ever had.
Open the 3D body measurements tool with your fresh measurements in hand.