If you have never used a Body Visualizer before, the screen full of sliders can feel intimidating. The good news: a Body Visualizer is much simpler than it looks. This tutorial walks you through using a Body Visualizer in five steps, from entering measurements to reading the 3D preview and comparing your current shape to a goal.
By the end, you will be comfortable using the Body Visualizer at body-visualizer.net for any of the usual reasons people open one — fitness goals, fashion fit, or curiosity.
Step 1: Open the Body Visualizer
Head to body-visualizer.net. There is no sign-up. A working Body Visualizer should not ask for an account, email, or photo — if it does, close the tab. Our Body Visualizer loads directly into the tool view, with the 3D preview on one side and the input sliders on the other.
The first thing the Body Visualizer asks you for is sex (male or female). This affects the base 3D mesh the Body Visualizer uses — it does not change the math behind your metrics.
Step 2: Enter Your Height and Weight
Height and weight are the bare minimum any Body Visualizer needs. Pick your preferred unit system at the top of the Body Visualizer — metric (cm / kg) or imperial (ft-in / lb) — and enter the values.
A few tips:
- Round to the nearest whole unit. A Body Visualizer is not sensitive to the last decimal.
- If you do not know your exact height in feet/inches, switching the Body Visualizer to metric and entering centimeters is often easier.
- Weight on the same scale, at the same time of day, gives the Body Visualizer the most useful trend signal over time.
As soon as you enter these, the Body Visualizer renders an initial 3D silhouette and shows your BMI.
Step 3: Add Your Body Measurements
This is where the Body Visualizer becomes useful. Add as many of the following as you can:
- Chest / bust
- Waist (measured at the narrowest point, usually just above the navel)
- Hips (measured at the widest point of the seat)
- Inseam (inner leg length, from groin to floor)
Each value you add lets the Body Visualizer deform the 3D mannequin to match. With all four, the Body Visualizer gives you a personalized silhouette. With just height and weight, the Body Visualizer can only render a population-average shape.
The Body Visualizer also auto-calculates:
- Waist-to-Height Ratio (WHtR)
- Waist-to-Hip Ratio (WHR)
- Estimated Body Fat % (via the Deurenberg formula)
- A descriptive body-shape label
If you enter a value that looks unusual for your height, the Body Visualizer will show a small warning under the field. It is not a medical alarm — it is just the Body Visualizer reminding you to double-check the input.
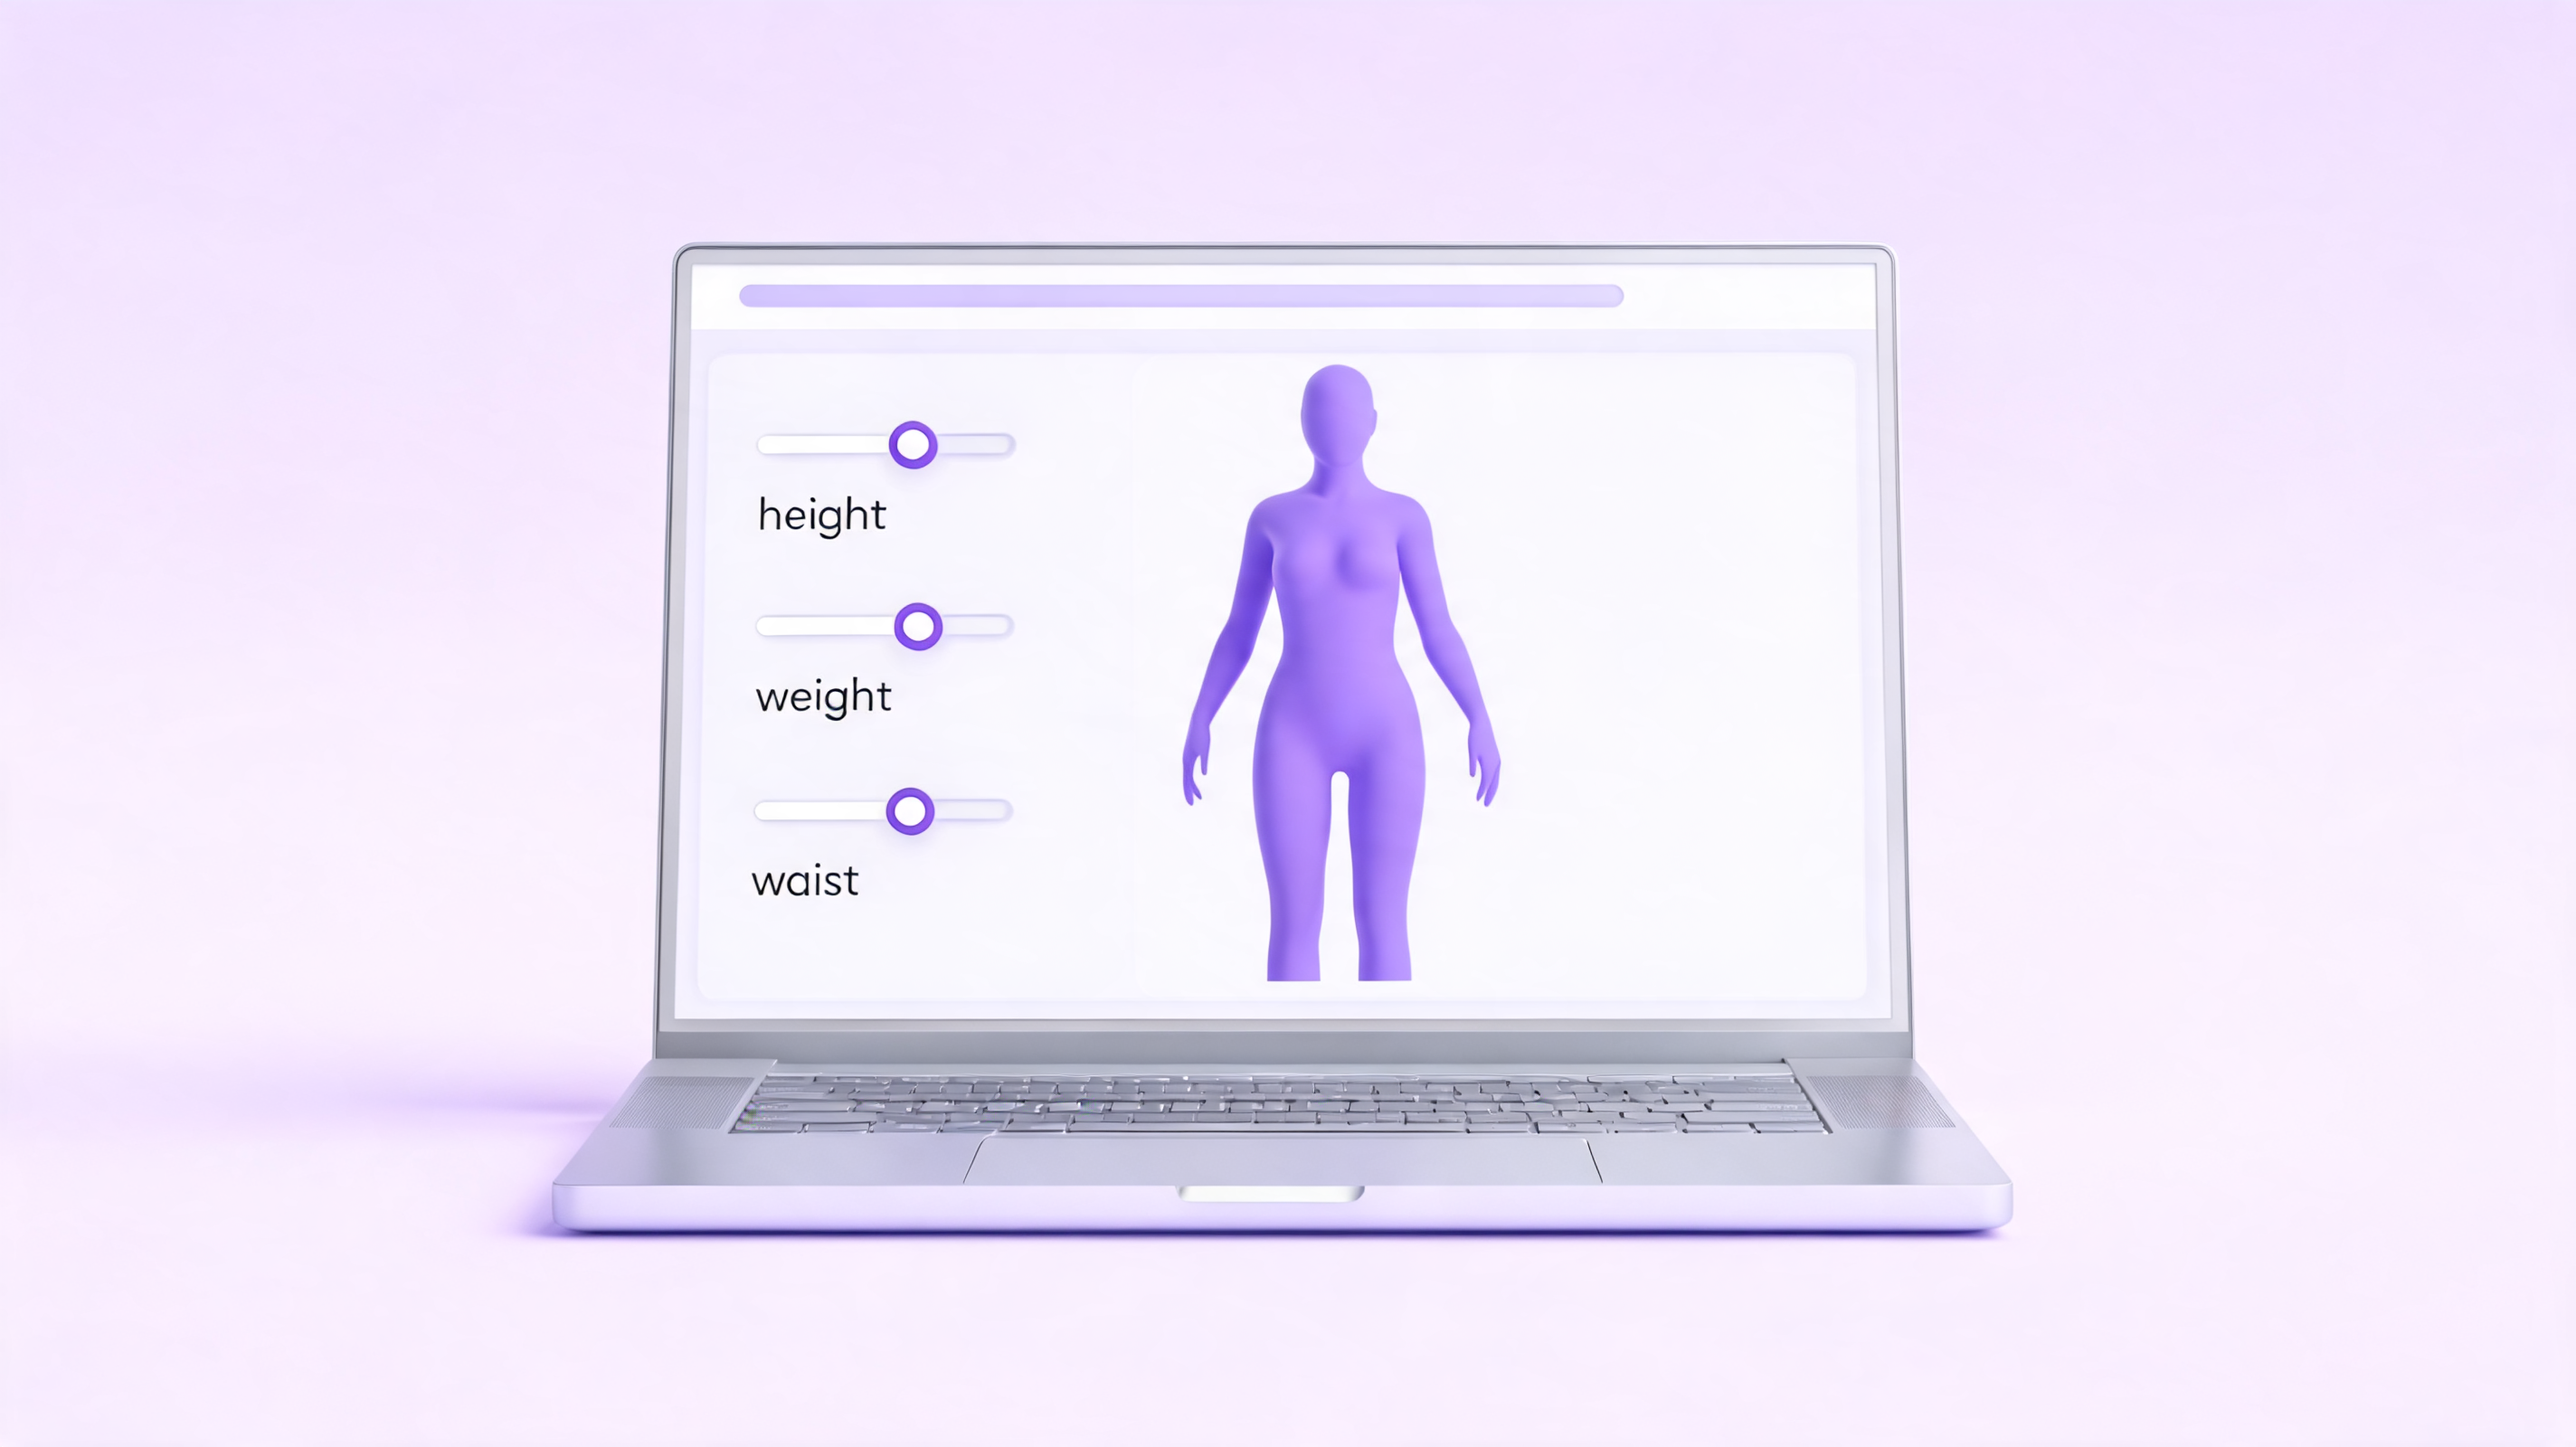
Step 4: Use the 3D Preview
The 3D preview is the part that makes a Body Visualizer different from a normal calculator. You can:
- Drag to rotate the model and see your Body Visualizer silhouette from any angle.
- Scroll to zoom in on a specific area.
- Right-click drag to pan if your Body Visualizer browser supports it.
Use the preview to confirm the Body Visualizer matches your mental image of your shape. If the Body Visualizer model looks completely off, you probably have a wrong unit setting (a common one: entering height in cm while the Body Visualizer is in imperial mode).
The 3D Body Visualizer is intentionally an abstract mannequin. It does not have a face, hairstyle, or skin texture — a Body Visualizer is a shape tool, not an avatar generator.

Step 5: Try the Goal Comparison
This is the most underused feature in any Body Visualizer. Turn on Goal Comparison and the Body Visualizer will let you set target values for weight, waist, and hips. The Body Visualizer then renders a second silhouette next to your current one.
What this is good for:
- Visualizing whether a "5 kg" goal would actually be a visible change in your Body Visualizer preview.
- Setting realistic milestones — sometimes the Body Visualizer goal shape looks almost identical to the current shape, which is information in itself.
- Sharing a target in a relationship with a coach without sharing a real photo. A Body Visualizer silhouette is purely numeric.
Comparison mode is also where many people realize that small waist/hip changes matter more visually than the scale number. A Body Visualizer that supports comparison turns abstract math into "this is what -3 cm at the waist looks like."
Step 6 (Optional): Get an AI Explanation
Some Body Visualizer tools, including ours, have an "Analyze" button that asks an AI model to write a short, plain-language explanation of your numbers. The Body Visualizer sends only your numeric values — no name, email, or photo — to the AI service.
The AI output is meant as an educational overview, not as medical advice. A good Body Visualizer will always make that clear.
Body Visualizer Best Practices
A few habits make a Body Visualizer much more useful:
- Re-measure weekly, not daily. Body Visualizer trends over weeks are meaningful; daily variation is noise.
- Save your Body Visualizer screenshots. The Body Visualizer itself does not store your data (intentionally), so you should screenshot your preview for personal records.
- Use one unit system. Mixing metric and imperial inside a Body Visualizer is the #1 cause of "the model looks wrong."
- Reset when in doubt. Every Body Visualizer has a Reset button — use it freely to clear out test values.
Troubleshooting Your Body Visualizer
If the Body Visualizer is not working as expected:
- Model appears too small or too large — confirm height units in the Body Visualizer match what you entered.
- Goal preview is identical to current — your Body Visualizer goal values are probably still at default; change waist or hips.
- AI button fails — the Body Visualizer's AI is best-effort; if all upstream providers are down, the rest of the Body Visualizer still works.
Try It Now
That is everything you need to use a Body Visualizer effectively. The whole flow takes about 2 minutes once you have your measurements.
👉 Open the Body Visualizer and try it now.